
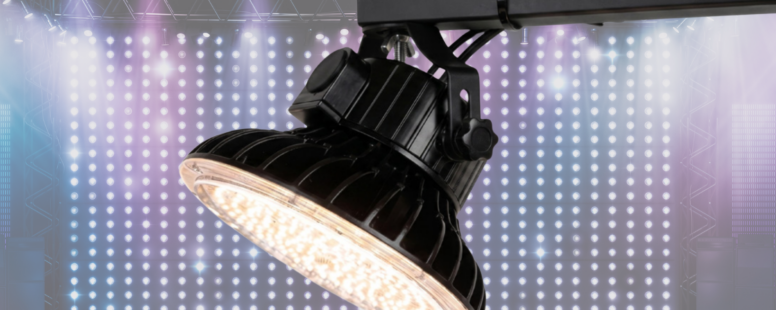
How to Install a HyLite Lotus Lamp in a Standalone Configuration
How to Install a HyLite Lotus Lamp in a Standalone Configuration
The HyLite Lotus Lamp can be configured for standalone mounting by removing the EX39 mogul-base assembly, attaching the approved mounting bracket, securing the lamp to the supporting structure, and connecting the WC2 quick power adapter.
This guide summarizes the installation sequence and the most important safety checks. It does not replace the current HyLite instruction sheet, applicable electrical codes, or installation by a qualified electrician.
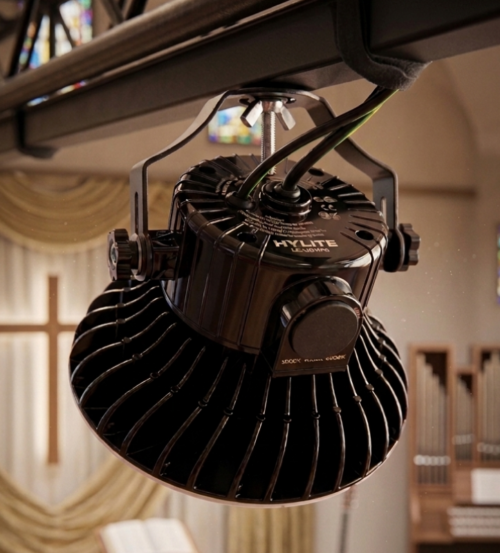
Safety Comes First
Lotus Lamp installation requires knowledge of luminaire electrical systems. Inspection, installation, servicing and removal should be completed by a certified or licensed electrician in accordance with applicable national, state and local electrical requirements.
Disconnect and verify power before beginning. Confirm the supply voltage, grounding, wiring condition, mounting surface, fixture environment and product markings before installation. Never work on energized connections.
What Does “Standalone” Mean for the Lotus Lamp?
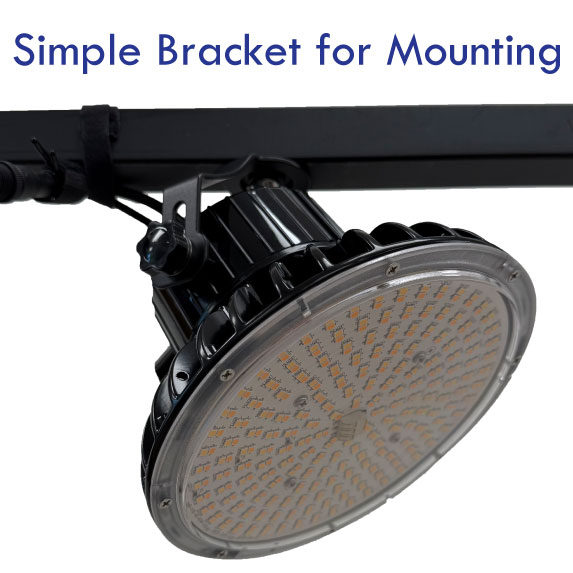
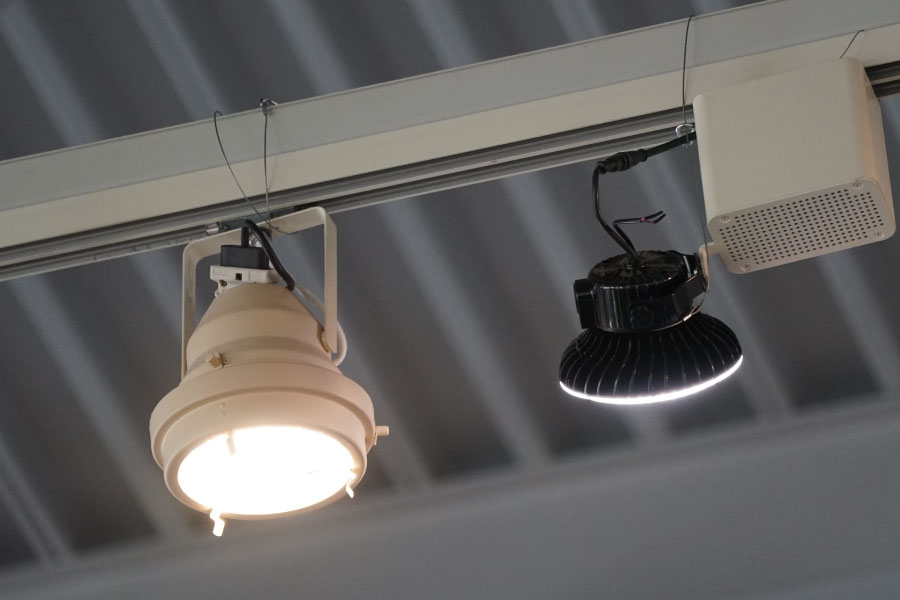
In the standalone configuration, the Lotus Lamp is supported by an approved mounting bracket rather than being installed through the standard EX39 mogul base. The EX39 base and associated power cord are removed from the bracket, the bracket is secured directly to the Lotus Lamp, and the completed assembly is attached to the supporting structure.
Power is then connected through the WC2 quick adapter. The exact bracket, connection method, clearances, and supporting structure must be appropriate for the selected product and installation.
Confirm the Electrical Requirements
- Verify that the supply voltage matches the selected Lotus Lamp.
- The standalone instructions identify 120–277VAC operation.
- Remove or bypass the ballast before installing the lamp.
- Confirm proper grounding and inspect all wiring for damage.
- Follow the current wiring instructions for any NEMA photo control or other connected controls.
Confirm the Installation Environment
- Use the lamp only in environments for which it is specifically marked.
- Do not mount the lamp on a flammable surface.
- Provide adequate airflow around the lamp for cooling.
- Keep insulation, foam, and combustible materials away from the lamp.
- Do not use the Lotus Lamp in emergency-exit fixtures or exit lights.
Step-by-Step Installation
The current HyLite standalone instruction sheet presents a five-step mounting sequence. Complete each step only after the electrical system has been made safe and the correct lamp, bracket, and adapter have been verified.
Select Wattage and Color Temperature
Set the desired wattage and color temperature before installing the lamp. Available settings depend on the exact Lotus Lamp model, so confirm the current product markings and specification sheet.
Remove the EX39 Mogul Base
Unscrew the EX39 mogul base from the standard bracket and remove the EX39 power cord from the bracket assembly. Keep the lamp and wiring protected from damage throughout disassembly.
Attach the Bracket to the Lotus Lamp
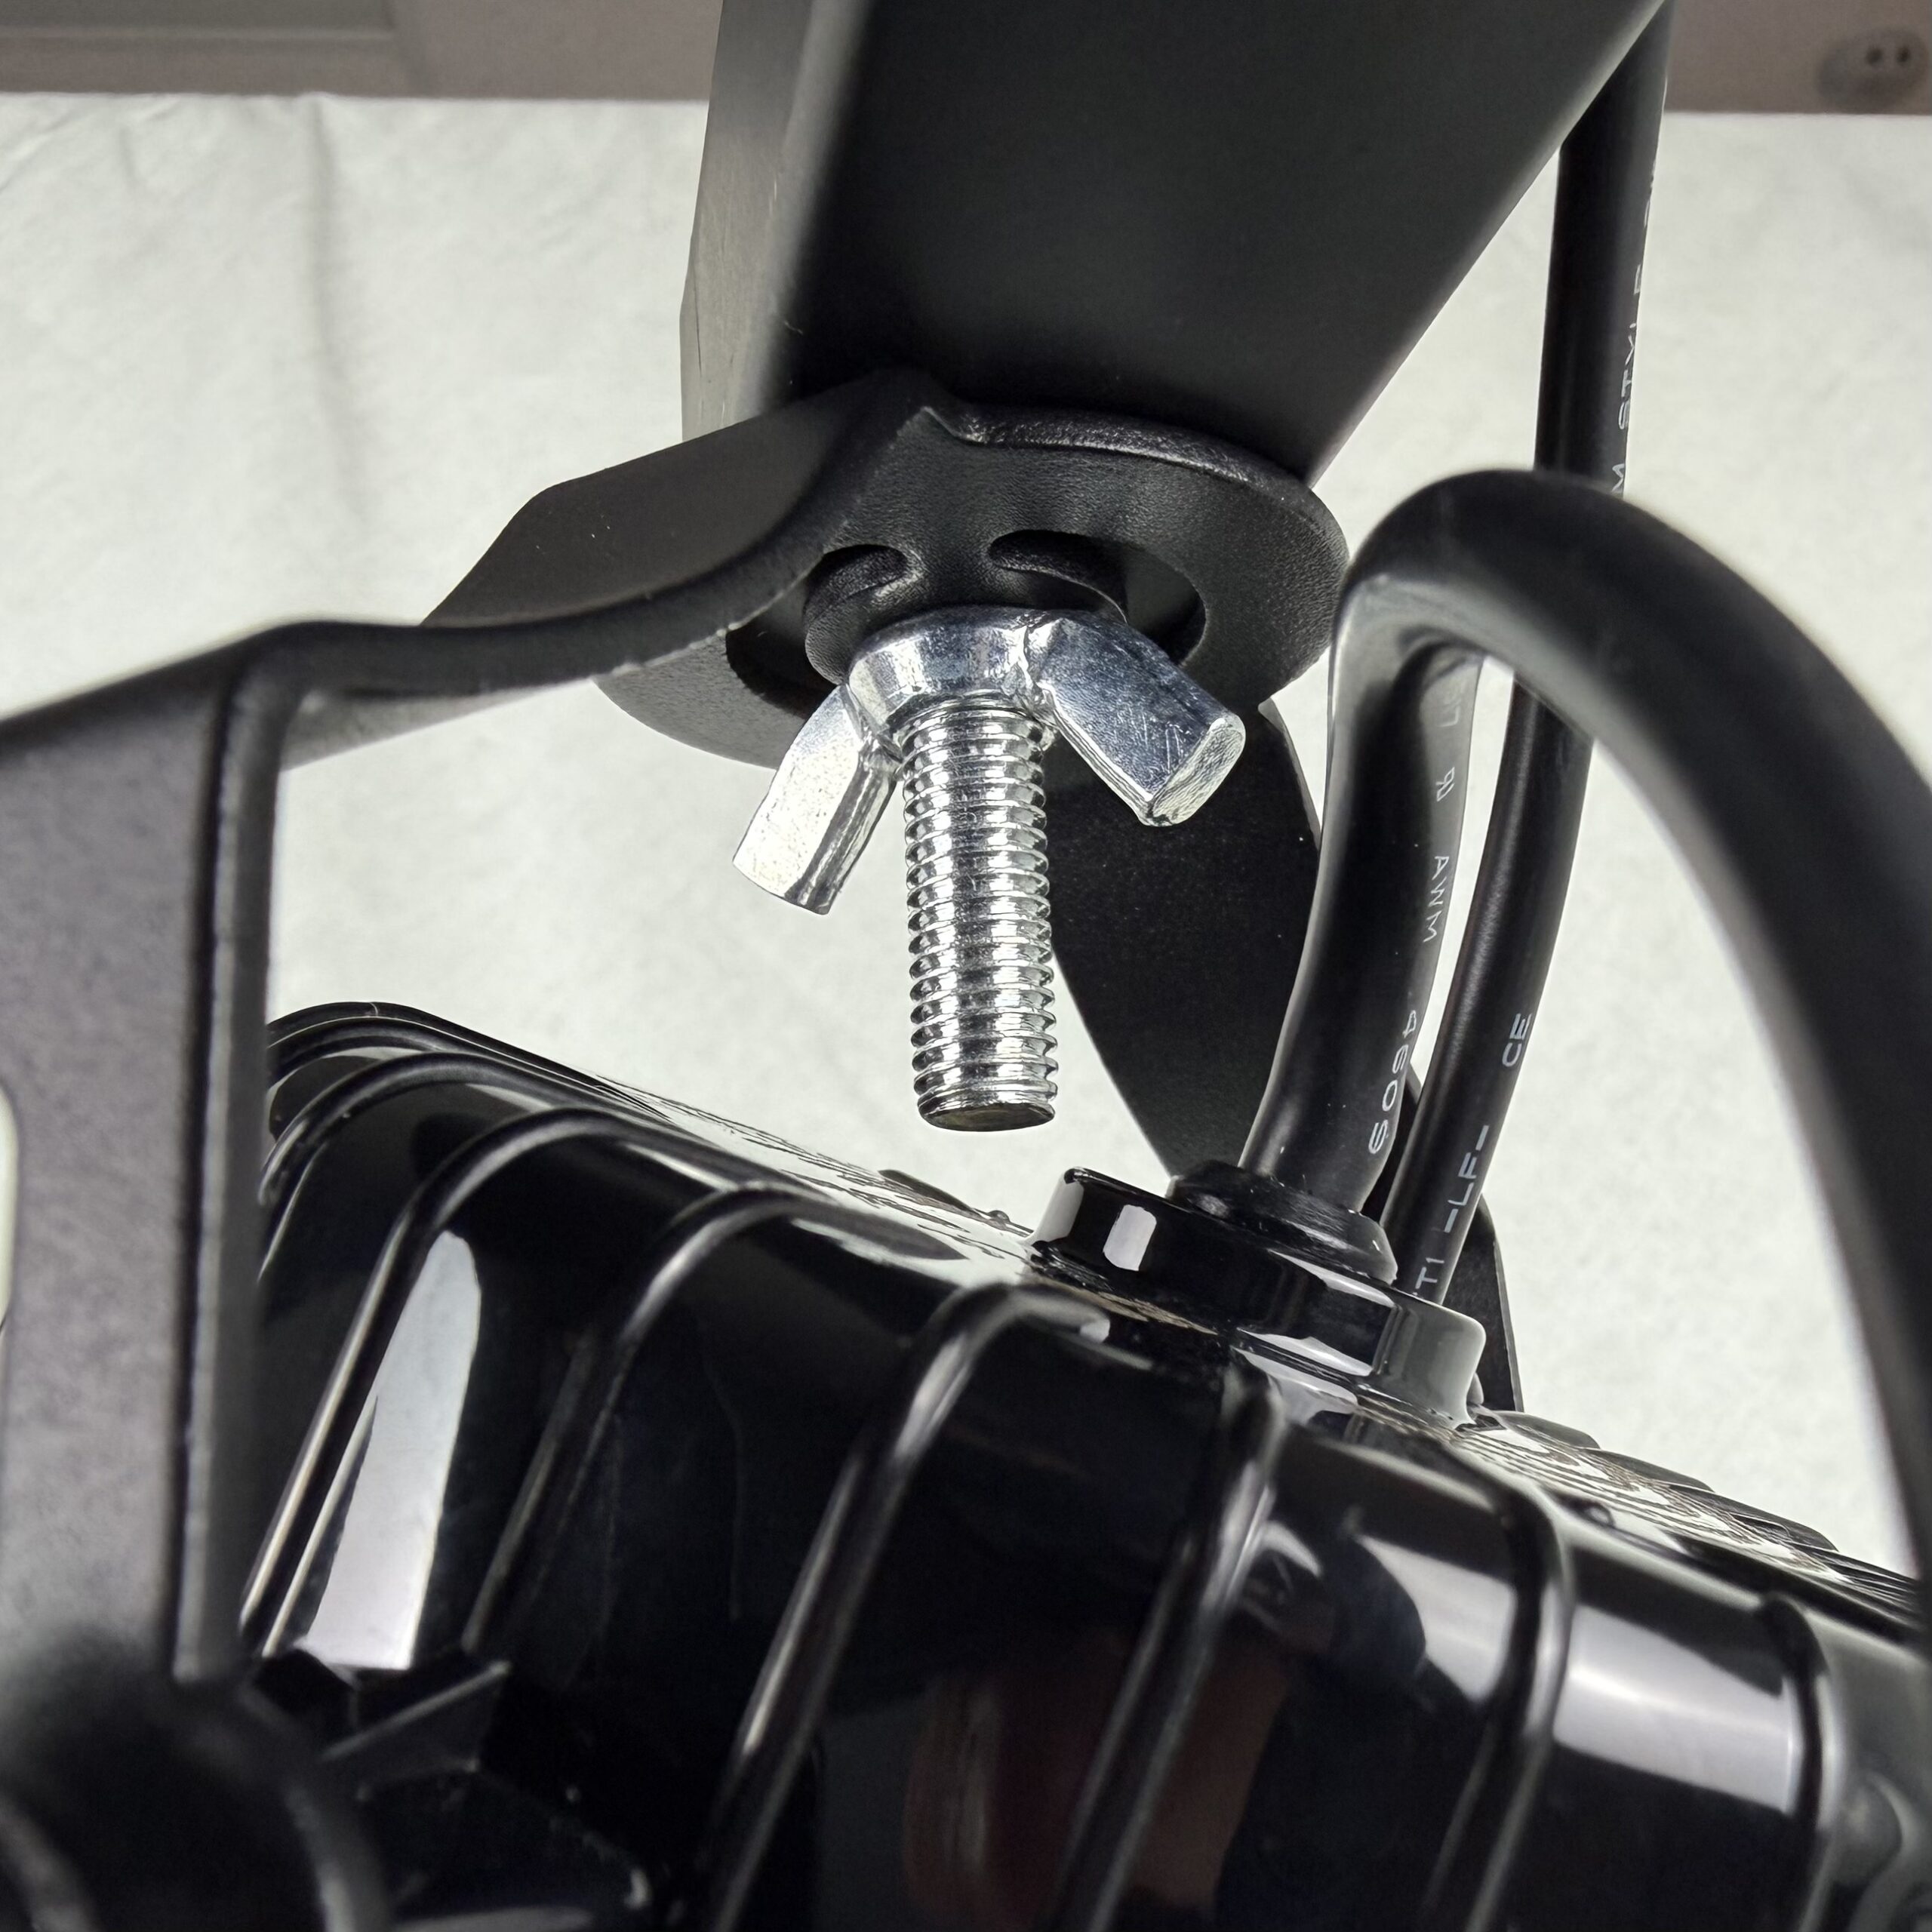
Position the bracket on the Lotus Lamp and secure the connection by tightening the nut on each end of the bracket. Confirm that the lamp is supported evenly and that the connection is secure.
Attach the Bracket to the Structure
Secure the approved bracket to the supporting structure using hardware and a mounting method appropriate for the lamp, bracket, location and structural conditions.
Connect the WC2 Power Adapter
Connect the WC2 power adapter to the Lotus Lamp as shown in the current instructions. Inspect the connection, wiring, grounding and lamp support before restoring power.
Inspect Before Energizing
Confirm that the bracket, structure, wiring, adapter and ground are secure; the lamp has adequate ventilation; and no wires are pinched, cut or exposed to sharp edges.
Information to Confirm Before Ordering or Installing
Protect the Lamp and Wiring
Do not cut or damage wire insulation, expose wiring to sharp metal edges, alter electrical components, create unapproved openings or support the lamp in a way that can damage the cable jacket. Use approved connecting devices and keep every connection secure.
Protect Installers and Occupants
Lotus Lamps are extremely bright and may become hot during operation. Avoid staring directly into the operating beam, use appropriate protective equipment, and allow the lamp to cool before servicing.
Need Help With a Lotus Lamp Standalone Installation?
Send HyLite the Lotus Lamp model, mounting location, supply voltage, existing fixture or structure, bracket configuration, controls, and project quantity. Our team can help direct you to the appropriate product information, specification sheet, and installation documents.
Lotus Lamp Standalone Installation FAQs
What is a Lotus Lamp standalone installation?
It is a bracket-mounted configuration in which the standard EX39 mogul-base assembly is removed, the bracket is attached directly to the Lotus Lamp, and power is connected through the approved WC2 quick adapter.
Who should install the Lotus Lamp?
Installation, inspection, servicing, and removal should be completed by a qualified, certified, or licensed electrician following the current HyLite instructions and all applicable electrical requirements.
Should the ballast remain connected?
No. The standalone instructions state that a ballast, when present, must be bypassed or removed before the Lotus Lamp is installed.
When should wattage and color temperature be selected?
Select the desired settings before installation. The available wattage and color-temperature choices depend on the exact Lotus Lamp model.
What input voltage is identified in the standalone instructions?
The instructions identify HyLite dimmable Lotus Lamps as suitable for 120–277VAC input. Always verify the exact product label and current specification sheet before installation.
Can the Lotus Lamp be used in an emergency-exit fixture?
No. The current standalone instructions state that Lotus Lamps are not intended for emergency-exit fixtures or exit lights.
 English
 Spanish
 French
 Arabic
 Ukrainian
 Portuguese
 German
 Italian
 Russian
 Dutch
Dutch