Guide to Replace 32W & 44W Tube Lights with LED
Fluorescent to LED: Easy Steps
Switching from 32W or 44W fluorescent tubes to LED lighting is one of the smartest upgrades you can make for your space. While fluorescent tubes have been widely used in offices, warehouses, and commercial buildings, they come with several drawbacks, such as flickering, reduced efficiency over time, and the presence of hazardous materials like mercury. Additionally, fluorescent lights take time to reach full brightness and are sensitive to frequent switching, which can shorten their lifespan.
By upgrading to LED tubes, you gain a host of benefits that go beyond just energy savings. LED tubes provide instant illumination with no flickering, last up to 50,000 hours, and reduce maintenance costs by eliminating the need for frequent replacements. Unlike fluorescent tubes, LEDs do not contain mercury, making them a safer and more environmentally friendly option. Plus, with multiple color temperature options ranging from 3000K to 6500K, you can customize the lighting in your space for maximum comfort and productivity.
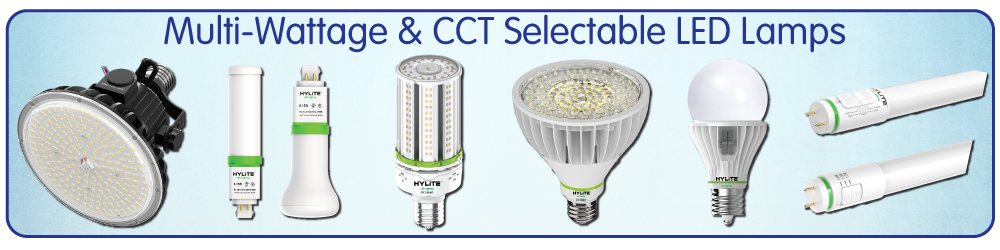
Below, we’ll walk you through the process of replacing your 32W and 44W fluorescent tubes with energy-efficient HyLite LED OptiMax™ Tube Lights.
Step-by-Step Guide to Replacing Fluorescent Tubes with LED
Step 1: Identify Your Current Setup
Before replacing your fluorescent tubes, you need to determine what type of fixture you have. Follow these steps:
- Check the existing tube’s label—look for details such as wattage (32W or 44W), tube size (T8 or T12), and color temperature.
- Determine the ballast type—your fixture will have either:
- A magnetic ballast (older T12 models)
- An electronic ballast (found in most T8 fixtures)
- No ballast (some modified fixtures already converted to direct wire)
- Decide on the type of LED replacement:
- Plug & Play (Type A): Works with compatible electronic ballasts for a simple swap.
- Ballast Bypass (Type B): Requires removing the ballast and rewiring the fixture.
- Hybrid (Type A+B): Works with a ballast but can be rewired if the ballast fails.
Step 2: Gather Your Tools & Replacement LED Tubes
To complete the replacement, you’ll need:
- The correct HyLite LED OptiMax™ Tube Lights (matching your tube length and base type)
- A ladder (for overhead fixtures)
- A non-contact voltage tester (for safety)
- A screwdriver (for fixture access)
- Wire cutters and wire connectors (for ballast bypass installations)
- Gloves and safety glasses (to prevent injuries from broken glass)
Step 3: Turn Off the Power
Always prioritize safety. Before working on the fixture:
- Switch off the circuit breaker controlling the lights.
- Use a non-contact voltage tester to confirm no power is flowing to the fixture.
- If necessary, place a note on the switch panel to prevent someone from turning the power back on while you’re working.
Step 4: Remove the Old Fluorescent Tube
- Carefully rotate the fluorescent tube 90 degrees until the pins align with the slot.
- Gently slide the tube out of the socket.
- If the tube is cracked or damaged, handle it carefully and dispose of it properly following local regulations.
Step 5: Decide on Installation Method
- If using a Plug & Play LED Tube (Type A):
- Simply insert the LED tube into the socket as you would with a fluorescent tube.
- Restore power and test the light.
- If using a Ballast Bypass LED Tube (Type B):
-
- Remove the ballast by disconnecting the wires leading to it.
- Connect the input power wires directly to the tombstone sockets (follow the wiring diagram provided with the LED tube).
- Secure all connections with wire connectors.
- Insert the LED tube and restore power.
- If using a Hybrid LED Tube (Type A+B):
- If the ballast is functional, install the tube normally.
- If the ballast fails later, you can rewire the fixture as a Type B setup.
Step 6: Test the New LED Tube
- Turn the power back on.
- Check that the LED tube illuminates properly.
- If the light doesn’t turn on, double-check your wiring and make sure the LED tube is correctly seated.
- If you are using a Plug & Play tube, ensure your ballast is compatible.

Frequently Asked Questions
- Do I need to replace the fixture to use LED tubes?
No. Most LED tubes fit directly into existing fixtures. However, ballast compatibility determines whether you need a Plug & Play tube or a Ballast Bypass setup. - Are LED tubes dimmable?
Some LED tubes support dimming, but you must use dimmable models with compatible dimmers. - How much energy will I save by switching to LED?
Switching from 32W or 44W fluorescent tubes to HyLite LED OptiMax™ Tubes can reduce energy use by up to 60%, significantly lowering electricity bills. - What color temperature should I choose?
- 3000K-3500K: Warm white, ideal for homes and hospitality spaces.
- 4000K: Neutral white, great for offices and retail settings.
- 5000K-6500K: Daylight, best for warehouses, garages, and security lighting.
Make the Switch Today!
Replacing your old 32W or 44W fluorescent tubes with LED is a simple upgrade that delivers better lighting, lower costs, and long-term energy savings. Whether you choose Plug & Play, Ballast Bypass, or Hybrid LED tubes, HyLite LED has a solution tailored to your needs.
Make the switch today and enjoy brighter, more efficient lighting! For more information, send us a message or email at info@hylite.us.